


How to use Graphite Transfer Paper
Using graphite transfer paper to transfer a printed design to wood is a straightforward process that allows you to easily replicate intricate patterns or designs onto your wooden surface. This technique is handy for various projects, from wood burning to painting. Follow these simple steps to achieve a clean and accurate transfer:
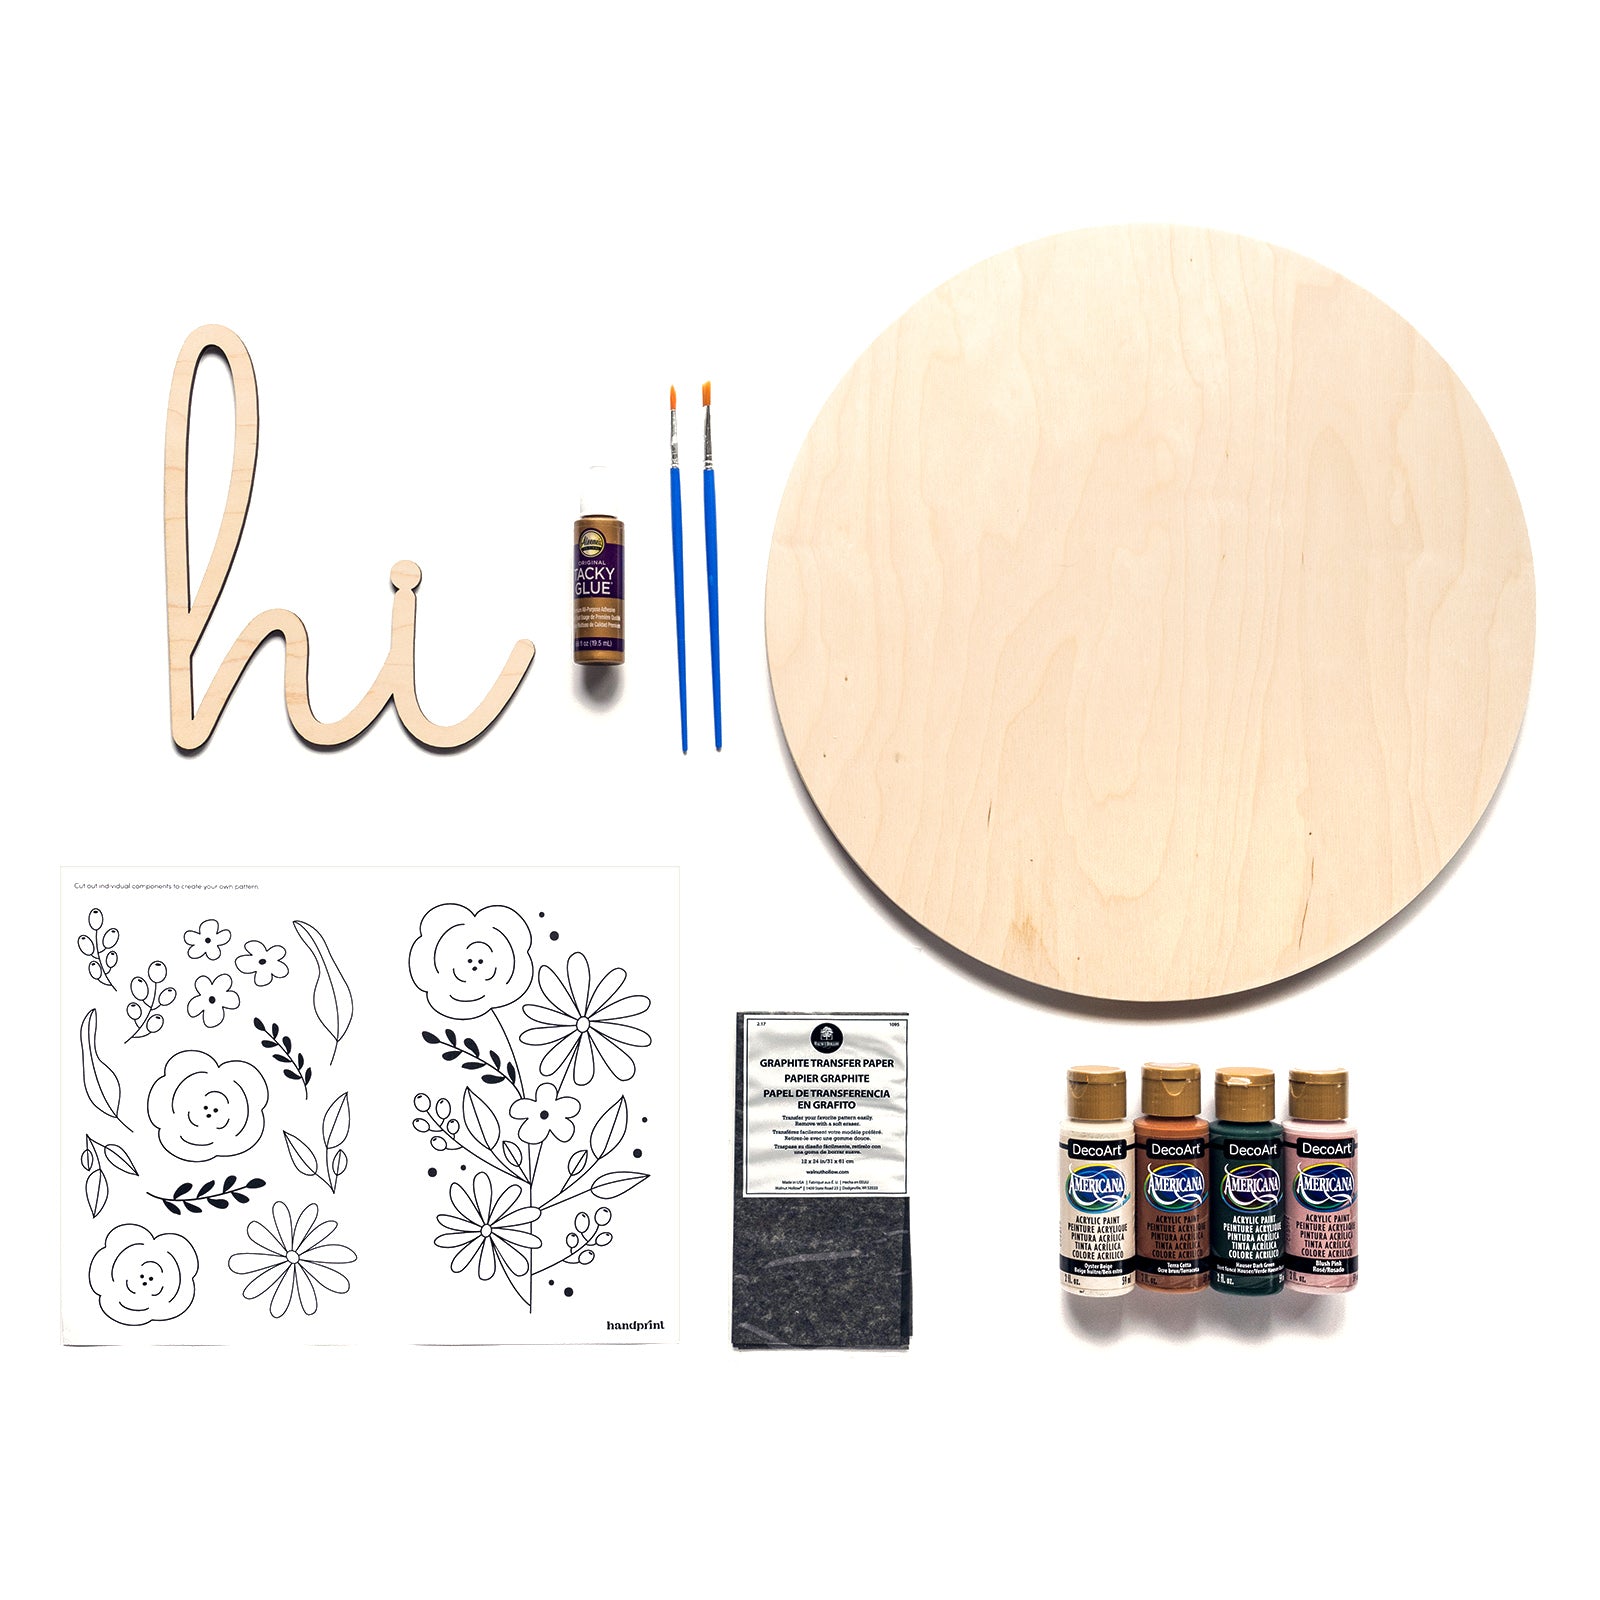
Materials Needed:
- Graphite transfer paper
- Printed design (on regular paper)
- Wooden surface
- Tape
- Pen or pencil
- Soft cloth or eraser
Step-by-Step Guide:
-
Choose Your Design: Begin by selecting or creating the design you want to transfer onto the wood. Ensure that the design is appropriately sized for the wooden surface.
-
Prepare the Wooden Surface: Make sure the wooden surface is clean and smooth. Sand the wood lightly if necessary to create a smooth working surface.
-
Position Your Design: Place the printed design on the wooden surface in the desired position. Secure the corners with tape to prevent it from moving during the transfer process.
-
Insert the Graphite Transfer Paper: Slide the graphite transfer paper between the printed design and the wood with the graphite side facing down. The graphite side is the side with the dark coating.
-
Secure in Place: Tape the graphite transfer paper in place, ensuring that it doesn't shift while you work.

-
Trace the Design: Use a pen or pencil to trace over the lines of your design. Apply firm and even pressure, making sure to trace all significant lines and details. As you trace, the graphite from the transfer paper will be transferred onto the wood beneath.
-
Check Your Progress: Lift a corner of the design to check if the graphite is transferring correctly. If not, press down and continue tracing until you cover the entire design.
-
Complete the Transfer: Carefully trace the entire design, ensuring that every part of your pattern is transferred onto the wood.
-
Remove the Paper: Gently lift the graphite transfer paper and the printed design from the wood. Your design should now be transferred onto the wooden surface.

-
Touch Up if Necessary: If some areas are faint or incomplete, you can touch them up using a pen or pencil.
-
Erase Residual Lines: Use a soft cloth or eraser to remove any residual graphite lines, leaving only the transferred design on the wood.
Congratulations! You've successfully used graphite transfer paper to transfer your chosen design onto wood.
Next Steps:
Wood Burning: If you're into pyrography, now is the perfect time to fire up that wood burning tool. Follow the safety guidelines, secure your wood in place, and use your transferred design as a reliable guide. The graphite lines will act as a roadmap, ensuring your wood burning endeavors stay on track, resulting in a beautifully burned design.
Painting: If you plan to paint your surface, the transferred design serves as an excellent outline to fill with vibrant colors. Whether you're using acrylics, watercolors, or any other paint medium, your transferred guide will keep your strokes purposeful and your artwork stunning.
Leave a comment